
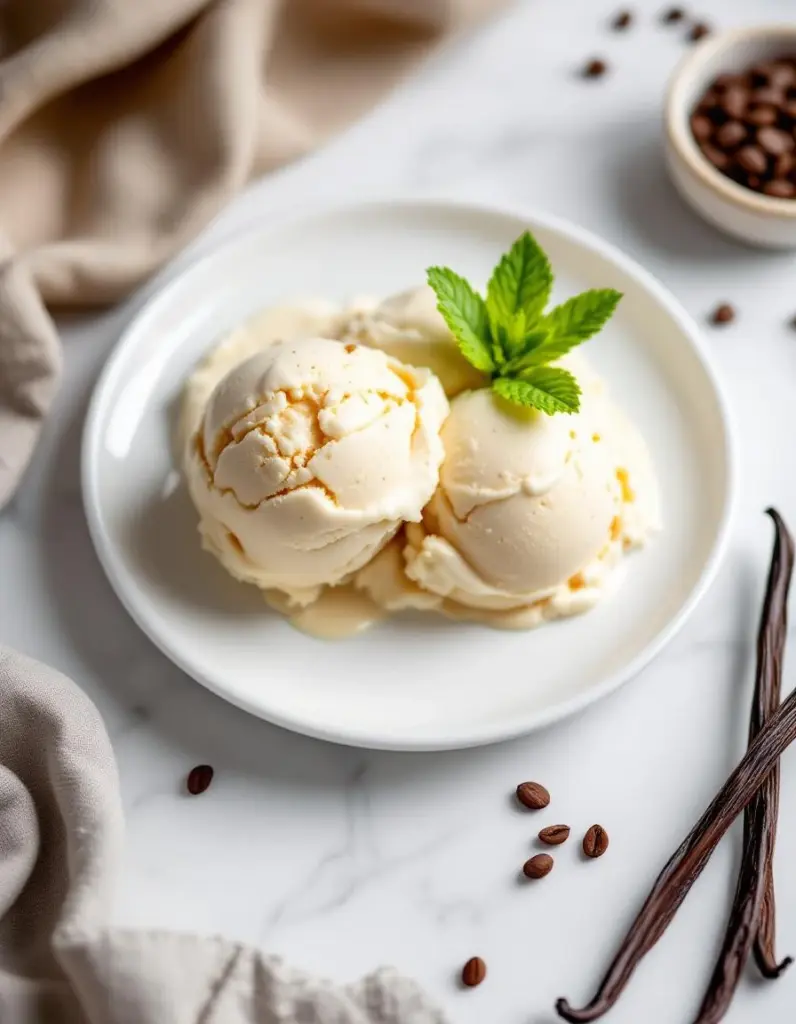
Making vanilla bean ice cream starts with the slow process of splitting a plump vanilla bean and scraping out the tiny black seeds. You’ll feel the oily seeds sticking to your fingers, releasing a rich, floral aroma as you go.
Then, you gently warm cream and milk, stirring in sugar and vanilla seeds, watching the mixture shimmer and thicken slightly before chilling it down for freezing. It’s about controlling heat and patience, not rushing the process to keep everything smooth and silky.
The gentle crack of vanilla bean seeds as you scrape them out, releasing tiny black specks that feel almost oily between your fingers—it’s a tactile reminder of how real vanilla transforms simple cream into something truly fragrant.
What goes into this dish
- Vanilla bean: I split and scrape a plump vanilla bean, feeling the tiny seeds ooze out and stick to my fingers—skip this step if you’re in a rush, but you’ll miss that intense vanilla aroma. Use vanilla extract if you prefer a quicker option, but the flavor won’t be as vibrant.
- Heavy cream: I whip this into a silky, rich base, feeling the coolness as I pour it. If you want a lighter version, try half-and-half, but the ice cream will be less creamy and luscious.
- Whole milk: I warm it gently with sugar and vanilla seeds, watching it shimmer—skip if you want a dairy-free version, but you’ll need a good plant-based cream to compensate for richness.
- Sugar: I add granulated sugar, feeling the grains dissolve slowly. For less sweetness, cut back a bit; for a different flavor profile, try honey or maple syrup but reduce liquid slightly to keep texture.
- Egg yolks (optional): I whisk them into the warm milk mixture for extra richness—skip if you prefer a no-cook version, but the texture might be less custardy and more icy.
- Salt: I sprinkle a pinch to enhance the vanilla—skip if you’re sensitive, but it really brightens the overall flavor with a subtle contrast.
- Optional add-ins: A few dark chocolate shavings or berry swirls can be folded in before freezing—skip if you want pure vanilla, but those textures add a nice surprise.
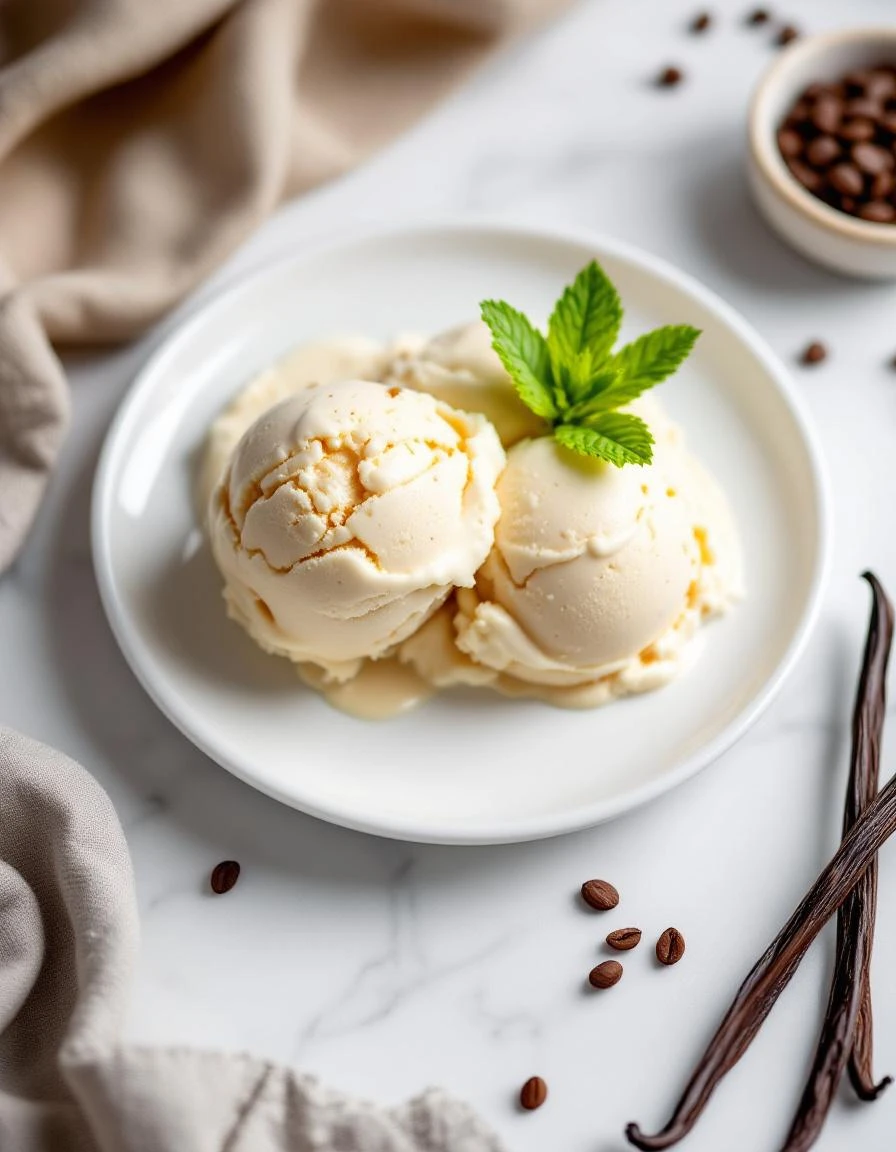
Vanilla Bean Ice Cream
Ingredients
Equipment
Method
- Use a sharp knife to split the vanilla bean lengthwise, then scrape out the tiny black seeds with the back of your knife. Feel the oily seeds sticking to your fingers and smell the rich vanilla aroma.
- Pour the heavy cream into a saucepan and gently warm over medium-low heat until it just starts to shimmer, filling your kitchen with a fragrant vanilla aroma. Remove from heat.
- In a mixing bowl, whisk together the egg yolks (if using), sugar, and a pinch of salt until the mixture becomes smooth and slightly pale—this helps create a silky custard base.
- Gradually pour the warm cream into the egg mixture while whisking constantly, tempering the eggs to prevent curdling. Feel the mixture thicken slightly as you whisk.
- Stir in the vanilla seeds and scraped vanilla bean pod into the custard mixture, releasing their fragrant oils. Let sit for a few minutes to infuse.
- Strain the custard through a fine sieve into a clean bowl to remove the vanilla pod and any cooked egg bits, ensuring a smooth texture.
- Cover the bowl and refrigerate the custard for at least 4 hours or overnight. This chilling step allows the flavors to deepen and the mixture to become silky.
- Once chilled, pour the custard into your ice cream maker and churn according to the manufacturer’s instructions until it reaches a soft, creamy consistency.
- Transfer the churned ice cream into an airtight container, smoothing the surface with a spatula. Cover and freeze for at least 2 hours to firm up.
- Before serving, let the ice cream sit at room temperature for a few minutes to soften slightly, making it easier to scoop and enhancing its rich vanilla aroma.
- Enjoy your homemade vanilla bean ice cream, savoring its smooth texture and tiny specks of vanilla that make every bite delightful.
Common mistakes and how to fix them
- FORGOT to chill the mixture early? FIX by refrigerating at least 4 hours for better texture.
- DUMPED in hot cream? FIX by gradually tempering eggs or cooling cream before mixing.
- OVER-TORCHED the custard? FIX by maintaining low heat and stirring constantly to avoid curdling.
- SKIPPED straining the vanilla seeds? FIX by passing the custard through a sieve for smoothness.
Make-Ahead and Storage Tips
- Prepare the custard base and chill for at least 4 hours or overnight—it helps develop flavor and ensures a smoother churn.
- Freeze the ice cream mixture for 2-4 hours before churning; it should be cold but not frozen solid when transferred to the machine.
- Flavors deepen over time, so if you add mix-ins like vanilla bean seeds or chocolate, do so after the initial freezing stage for the best texture.
- Store the finished ice cream in an airtight container in the freezer for up to 2 weeks; it may develop some ice crystals if kept longer.
- Refrigerate for 15-20 minutes before serving if the ice cream is too hard, and scrape with a warm spoon—watch the texture soften and become scoopable.
- For best sensory experience, let the ice cream sit at room temperature for a few minutes after removing from the freezer—texture and aroma will be more pronounced.
FAQs
1. Can I skip vanilla beans?
Yes, you can use vanilla extract, but it won’t have that intense, oily aroma of fresh vanilla beans. The flavor will be a bit more muted, less fragrant on your tongue and nose.
2. Can I use vanilla extract instead?
Absolutely, but expect a less vivid vanilla flavor. The beans release tiny specks and a rich aroma that extract can’t quite match, especially when you get a hit of vanilla seed oil between your fingers.
3. Should the cream be warm or cold?
Use cold cream and milk, feeling the chill as you stir. Warm them gently, but avoid boiling—hot cream can curdle eggs or change texture unexpectedly.
4. How long before I churn?
Keep the mixture in the freezer for about 2-4 hours before churning. It should be icy but not rock-solid, with a slight slushiness when you stir it with a spoon.
5. Can I make this ahead of time?
Yes, refrigerate the custard base overnight for a richer, more developed flavor. The vanilla seeds will infuse deeply, and the texture will be silkier when frozen.

I’m Mahek Manchanda, the curious heart behind Dramatically Stirring. Before this space existed, my life revolved around kitchens that were loud, demanding, and endlessly alive. I didn’t arrive at cooking through a single dramatic moment.