
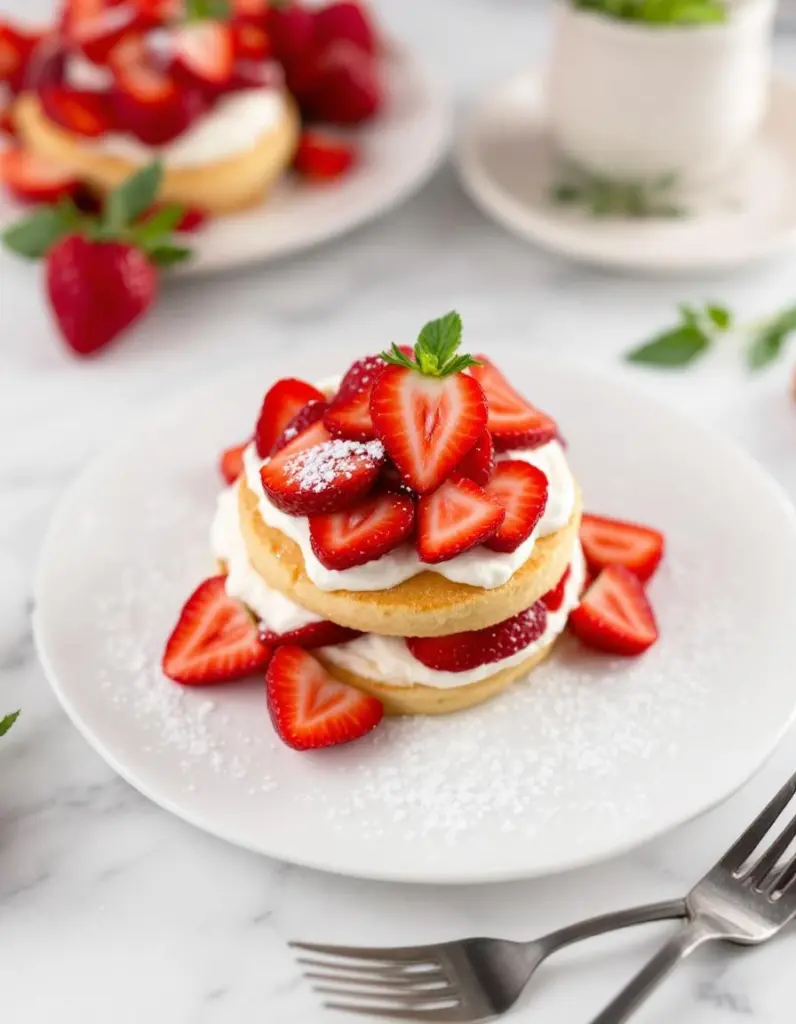
Making strawberry shortcake means dealing with sticky, juicy berries that leak out as you slice them. You’ll mash some to release their bright, oozy aroma, then layer it all on a crumbly biscuit or cake base. It’s messy but satisfying work that rewards you with a burst of fresh fruit and cream in every bite.
The process is hands-on from the start—whisking cream until it’s just thick enough to hold soft peaks, slicing berries with a little sugar, and assembling quickly before everything weeps into the plate. No finesse needed, just a bit of patience and a good eye for balancing the layers.
The gentle squish of the strawberries as you mash them, releasing a burst of sweet, juicy aroma that fills the kitchen.
What goes into this dish
- Strawberries: I mash ripe, fragrant berries until they’re juicy and a little runny. Skip if they’re too firm; a touch of lemon juice brightens their natural sweetness.
- Heavy cream: Whip until soft peaks form, just enough to hold a gentle fold. If you overwhip, it gets grainy—so keep an eye on it as you go.
- Sugar: I prefer superfine for quick dissolving, but granulated works fine. Adjust to taste—more sugar for a sweeter, more syrupy berry topping.
- Biscuits or sponge cake: I use flaky, buttery biscuits or a light sponge—whatever’s handy. For a richer flavor, add a splash of vanilla or almond extract.
- Lemon juice: A squeeze of fresh lemon cuts through the berries’ sweetness and adds a zing that wakes up the whole dish. Skip if you’re sensitive to citrus.
- Optional toppings: A sprinkle of crushed graham crackers or toasted almonds can add crunch. Use what you’ve got—just don’t skip the cream.
- Mint leaves: Fresh mint adds a cool, herbal note that brightens each bite. Gently bruise before garnishing for a more pronounced aroma.
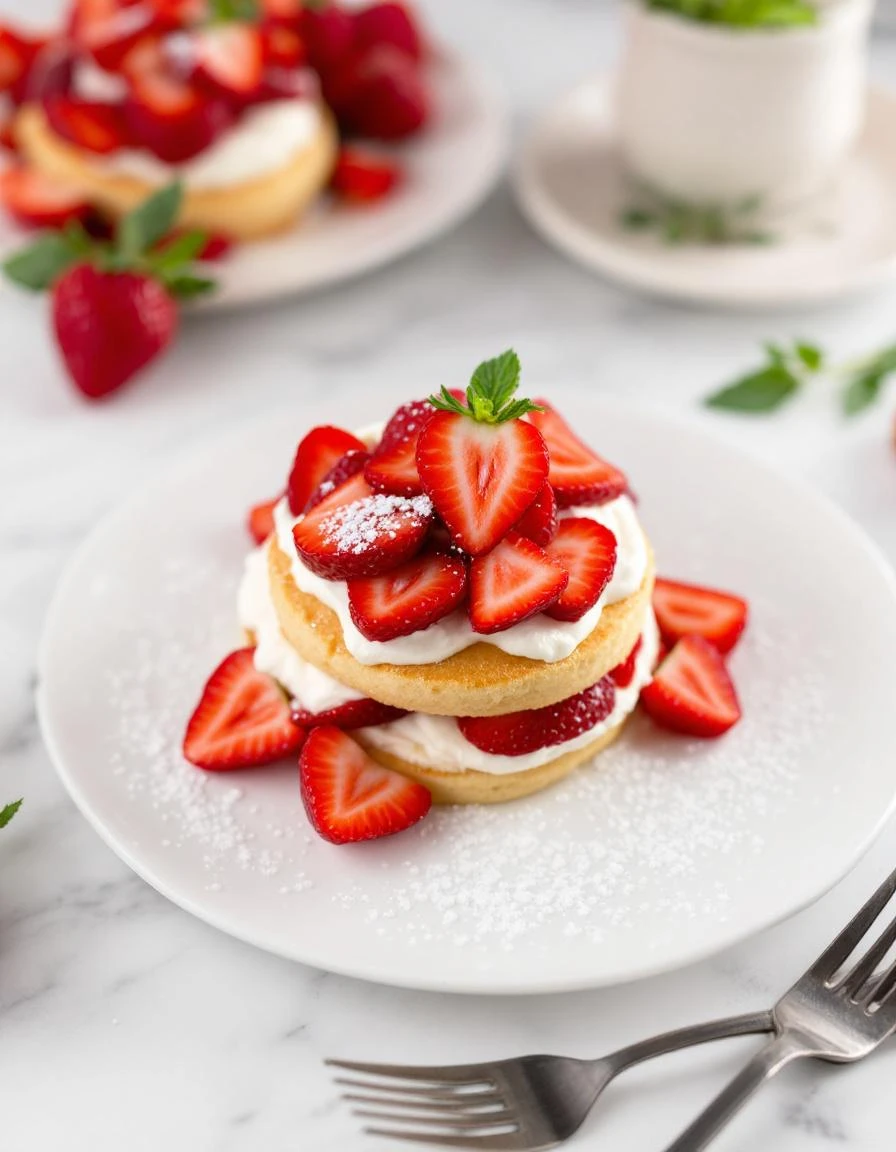
Strawberry Shortcake
Ingredients
Equipment
Method
- Hull and slice the strawberries, then place them in a bowl. Sprinkle with sugar and lemon juice, gently mash with a fork until juicy and slightly syrupy, releasing their fragrant aroma.
- Pour the chilled heavy cream into a mixing bowl. Whip with an electric mixer on medium speed until soft peaks form, then add sugar and whip just until the cream holds gentle peaks.
- Slice open the biscuits if they are large, or simply break them into chunks if using store-bought. Arrange the biscuit pieces on serving plates.
- Layer a generous spoonful of mashed strawberries over the biscuits, allowing some of the juices to soak in.
- Spread or spoon whipped cream over the strawberries, creating a fluffy layer that slightly covers the fruit.
- Repeat the layers—adding more strawberries and whipped cream—until the plates are filled, finishing with a dollop of cream on top.
- Garnish with fresh mint leaves if desired, and serve immediately to enjoy the fresh, juicy, and creamy textures.
Common mistakes and how to fix them
- FORGOT to chill the cream: it won’t whip properly; keep it cold for a good fluff.
- DUMPED too much sugar: makes berries overly syrupy; start small and adjust to taste.
- OVER-TORCHED the biscuits: they turn bitter; bake at moderate heat and check early.
- SKIPPED the lemon juice: loses brightness; a splash enhances flavor and balances sweetness.
Make-Ahead and Storage Tips
- You can slice and macerate the strawberries a day ahead; keep covered in the fridge for up to 24 hours. The berries will release more juice, making the topping extra oozy.
- Whipped cream: prepare just before serving for best volume. You can make stabilized whipped cream with a bit of gelatin or mascarpone the day before and refrigerate for up to 24 hours.
- Biscuit base: bake your biscuits or sponge a day early, then store in an airtight container. Reheat briefly in a low oven (around 300°F) if you want it warm.
- Flavor intensifies overnight: the berries and cream meld into a more cohesive, slightly syrupy mixture if left assembled for several hours. Just add the final layer of whipped cream before serving.
- Freezing strawberries isn’t ideal—they lose texture and become mealy. But frozen berries can be thawed, drained, and mashed if fresh aren’t available.
- Reheating: if your biscuit or sponge was baked ahead, warm it slightly in the oven until just warm to bring back some of that fresh-baked feel. Watch for steam and don’t overdo it.
FAQs
1. How do I choose the best strawberries?
Use ripe, fragrant strawberries that give gently under pressure. Their oozy, sweet aroma is key to a juicy topping.
2. How can I tell when the cream is ready?
Whip your cream until it just holds soft peaks. Overwhipping makes it grainy and less creamy when folded into the layers.
3. Should I add lemon to the berries?
A splash of lemon brightens the berries’ natural sweetness and cuts through the richness of the cream. Skip if citrus isn’t your thing.
4. What if my biscuits get too dark?
If your biscuits turn bitter or hard, lower the oven temperature and check early. Overbaking is a common mistake.
5. Can I make parts of this in advance?
Prepare strawberries (mash and macerate), whipped cream, and baked biscuits a day ahead. Keep everything covered and chill until assembly.

I’m Mahek Manchanda, the curious heart behind Dramatically Stirring. Before this space existed, my life revolved around kitchens that were loud, demanding, and endlessly alive. I didn’t arrive at cooking through a single dramatic moment.